If you’re searching for the ultimate blend of comfort and portability, our Kammok Swiftlet hammock setup might be exactly what you need. We’ve used it in campgrounds, parks, and even on gravel where trees are nowhere to be found. This article shows you how we use the Swiftlet, what gear makes it even better, and includes a video of the full setup in action.
In this article, I’ll walk you through my full camping hammock setup, how I use the Swiftlet stand, and a few details about the gear that makes this one of the most comfortable, versatile setups I’ve ever used. I also made a quick video to show it all in action — so if you’re more of a visual learner, scroll down to check that out.
Watch the video below to see the setup in action:
Can’t see the video? Watch it right meow on YouTube!
Why the Kammok Swiftlet?
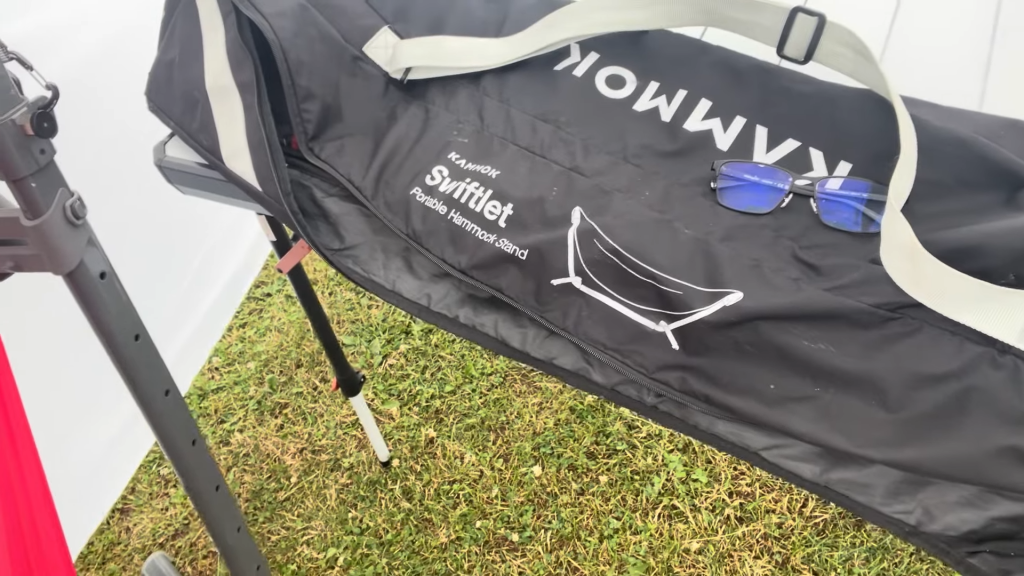
Kammok really nailed it with the Swiftlet. It’s a lightweight, aluminum stand that breaks down into a compact bag, making it ideal for RVers, campers, or anyone who wants to take their hammock off the beaten path (or just set it up in the backyard).
- Portable: Packs into a small, easy-to-carry bag
- Tree-free setup: No need to find two perfectly spaced trees
- Tool-free assembly: Quick to set up and break down
- Adjustable height and length: For lounging or sleeping positions
This is the same gear I bring to parks, campgrounds, and events. In fact, I used this exact setup at the fairgrounds recently while waiting for the show to start. A little shade, a breeze, and a blanket — it was perfect.
What’s in My Hammock Setup?
Aside from the stand, I’ve got a full comfort system going.
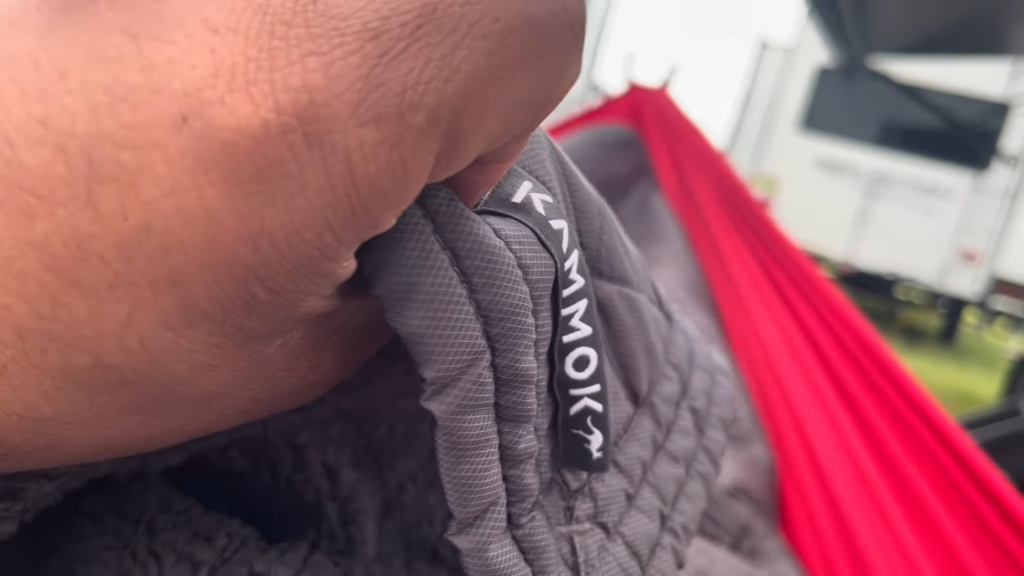
- Kammok Roo Hammock – Soft, supportive, and pairs perfectly with the Swiftlet.
- Kammok Blanket – Their insulated, adventure-ready blanket is great for cooler evenings or early mornings.
Whether I’m napping, reading, or scrolling my phone in the breeze, this setup keeps me comfortable without hauling a bulky chair or laying in the dirt. It’s even become my go-to way to cool down after a ride or unwind at camp.
Pro Tips for Hammock Setup With a Stand
If you’re new to hammock stands or just want to level up your setup, here are a few tips from trial and error:
- Balance the stand on level ground. Even a slight slope can throw off comfort.
- Use a pillow or stuff sack under your knees if you’re laying flat — it relieves back tension.
- Drape a mesh cover or tarp overhead if you’re in direct sun.
- Add a ground mat under the hammock to keep gear and feet clean.
🧭 Why I Recommend It
A lot of hammock guides assume you’re heading deep into the woods or hanging between two trees — but the Kammok Swiftlet makes hammock life possible anywhere, from state parks to gravel campsites and even indoor setups. It’s become one of my most-used pieces of gear.
If you’re into RV life, casual camping, or just want a spot to kick back with a view, this setup might be what you’re looking for. I’d recommend it to any beginner or seasoned camper who wants flexibility without compromising comfort.
📌 Ready to Try It?
If you’re curious about what a portable hammock setup looks like or how the Swiftlet performs, check out my video walkthrough and see it in action. If you’ve got questions about the setup or want to share your own hammock system, drop a comment on the video or send me a message!
Leave a Reply